One Week Away!
6 years ago
so allot of this you'll have seen before, but figured I'd document it out anyway.
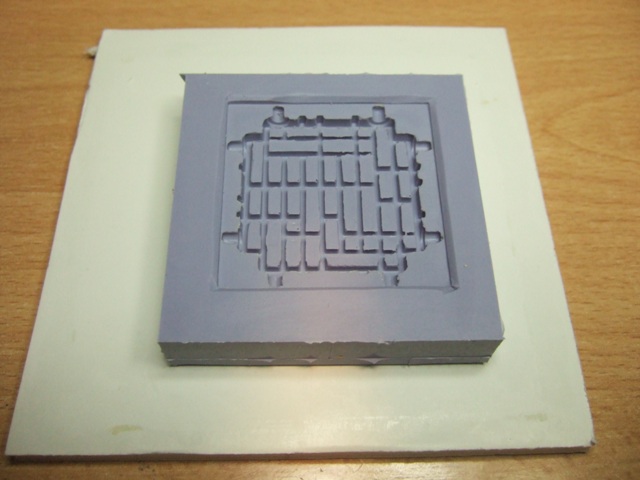 starting with the mold, it doesn't look that neat and tidy, and it's one of the more complex ones I've made so far...and I think the finished cast is quite nice for a "grate-ey" floor tile. I've started using a mold release caoting after each cast, and I find that even complex peices like this, pop uout super easy....well worth the $4.95 IMO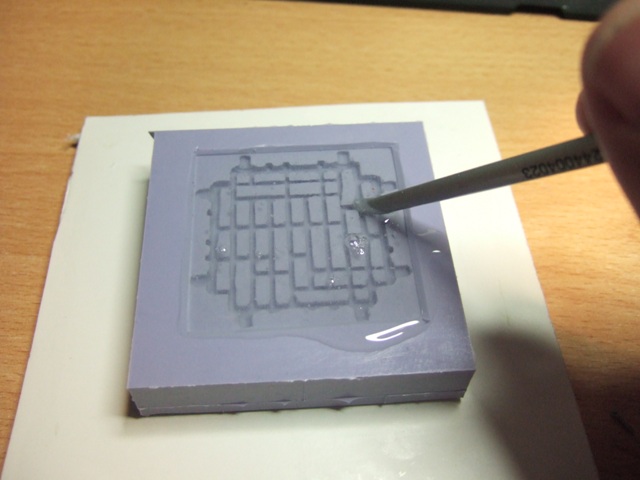
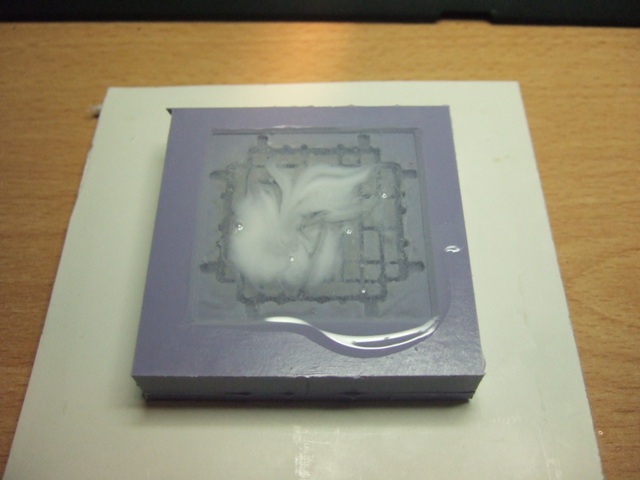
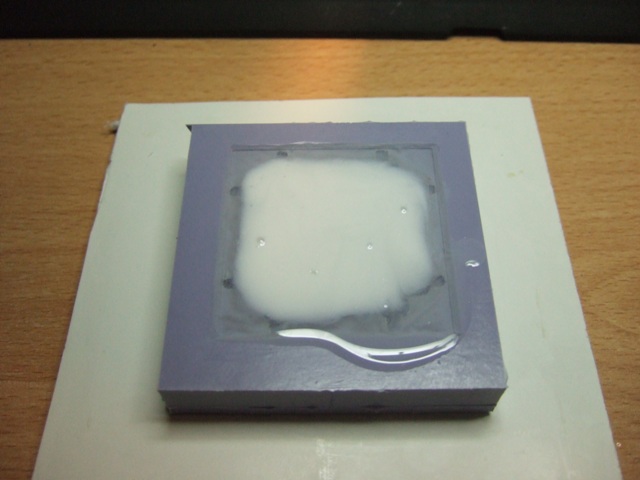

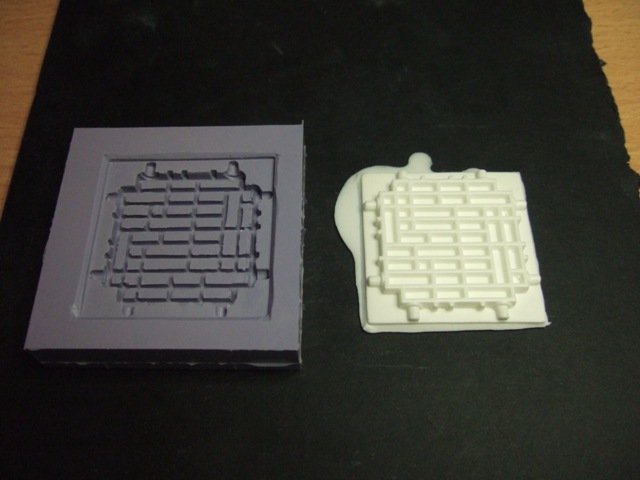
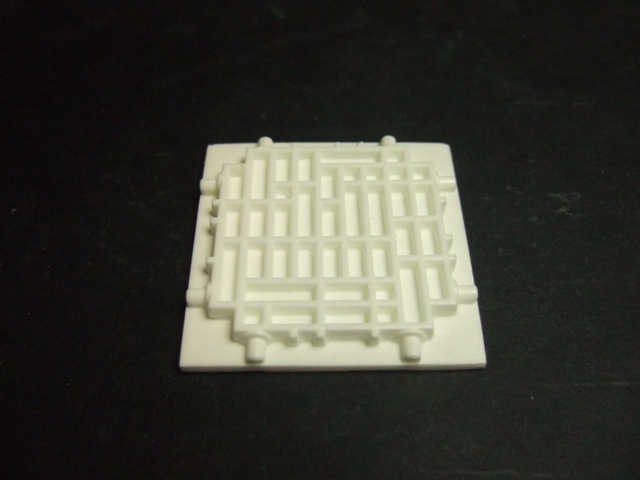
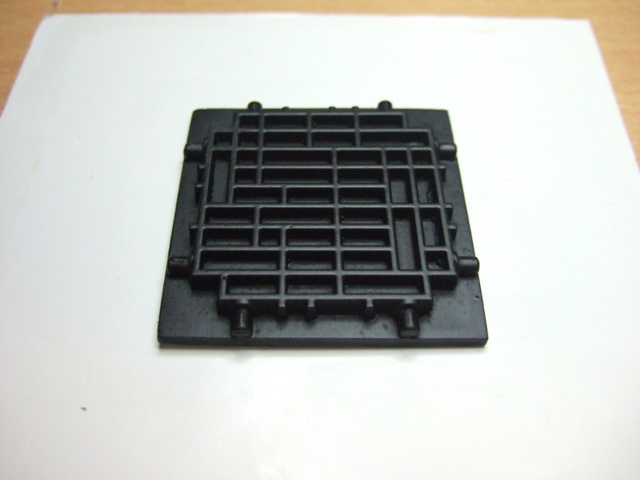
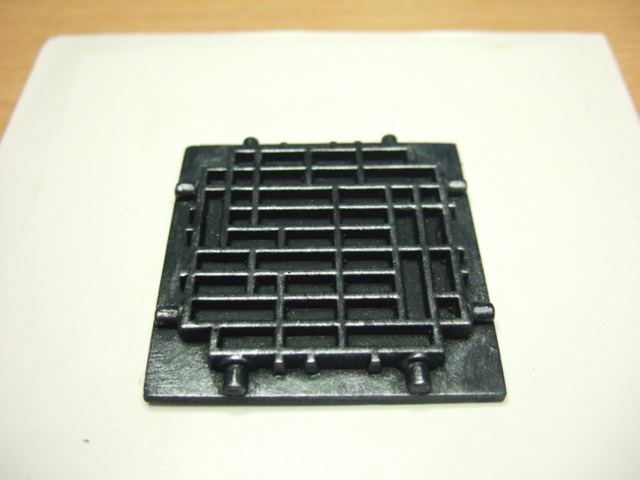
just a quick pictoral, of me casting some floor tiles, from my master mold
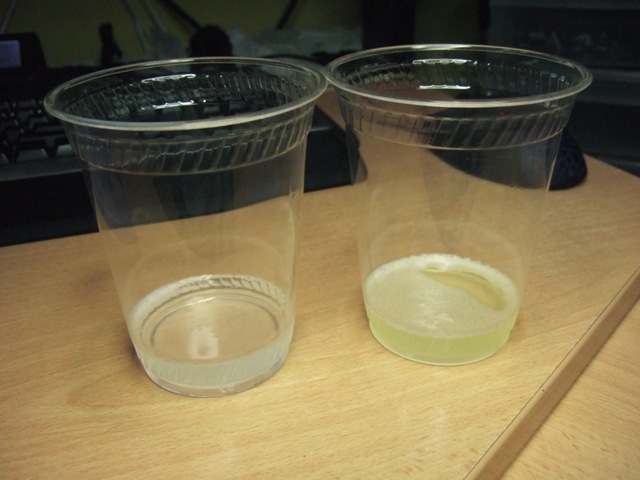 so here's the 2 part resin, mix equally by volume, I just use cheapo plastic cups for this, and a peice of sprue to stir it all....little thicker then water when all mixed, but probably not as thick as table cream...
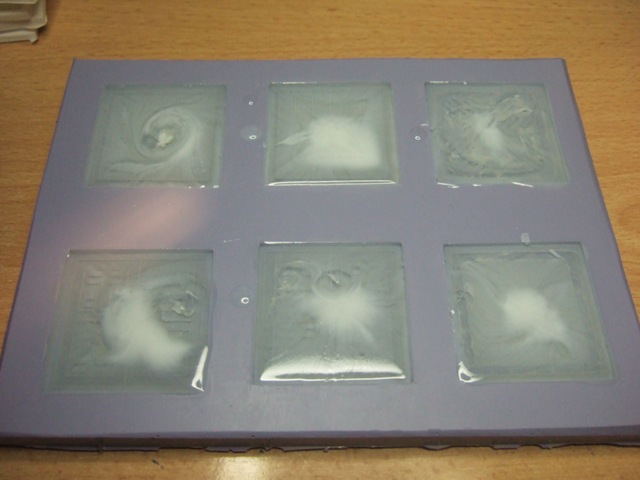 the big kahuna in action.....poured in to the mold, and starting to setup, you can get longer times, but I like not having to wait, 10 min and these are going to be ready to de-mold
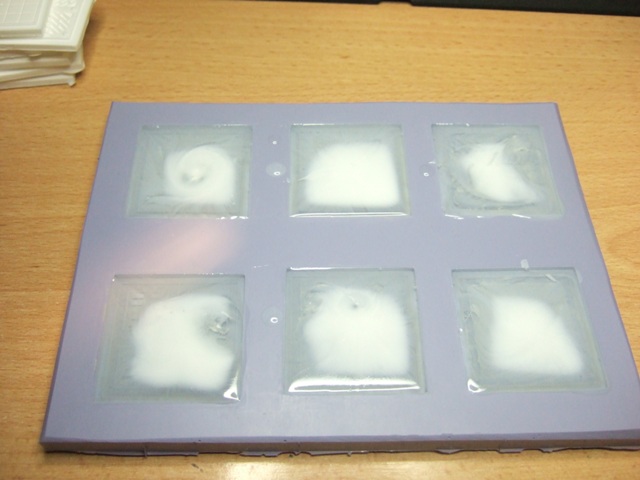 A few shots over time, as it sets it turns to a solid white, you can see this happen before your eyes...
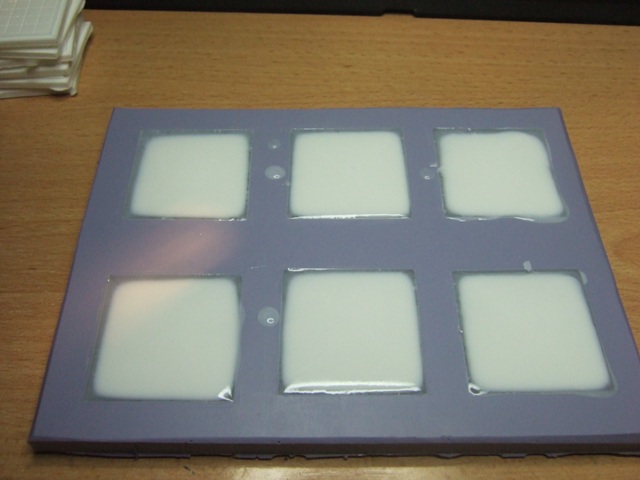 almost there, just the edges to go....since this is a chemical reaction, it happens quickest, where the resin is thickest, and takes the longest in the thinnest spots
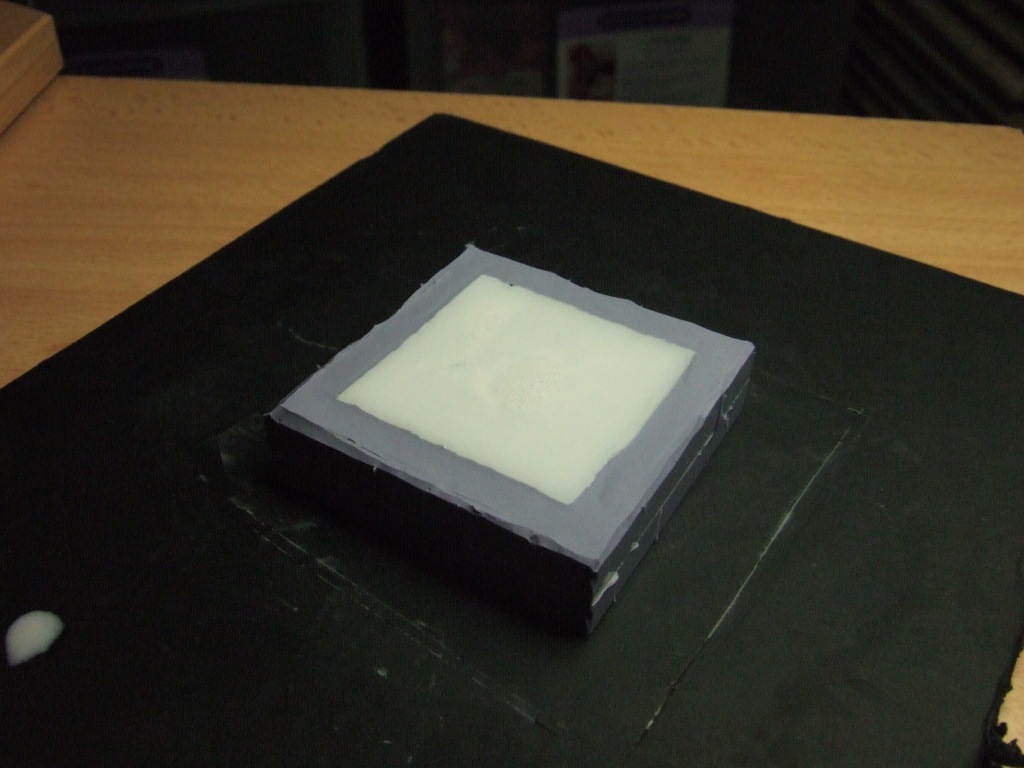
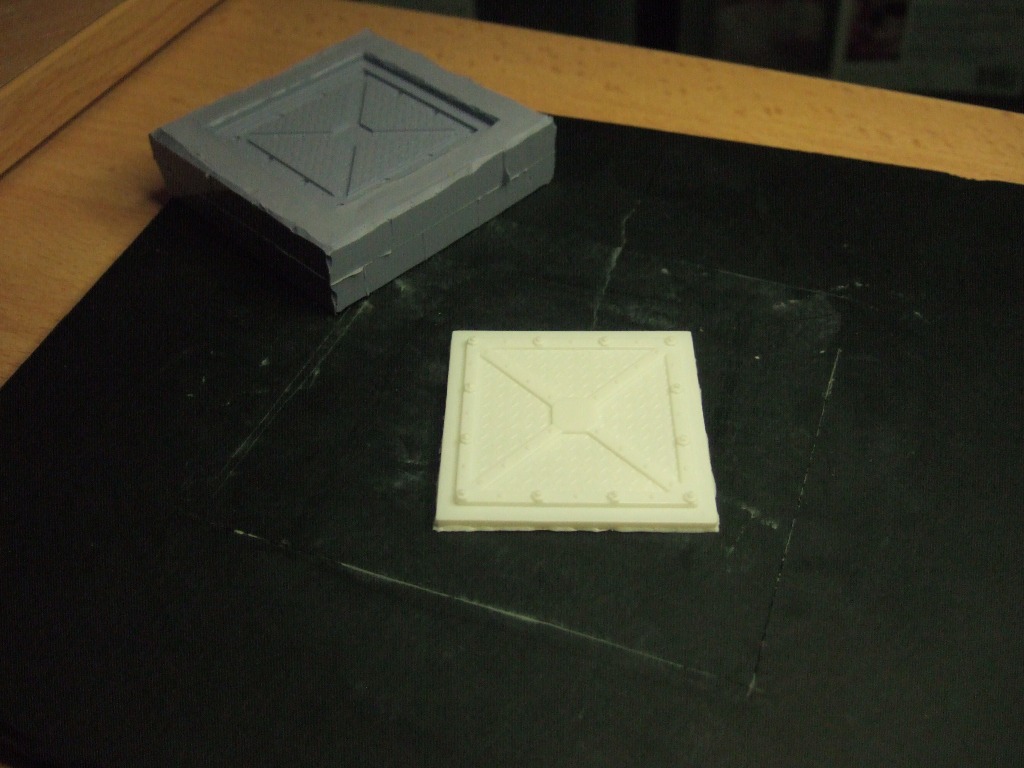
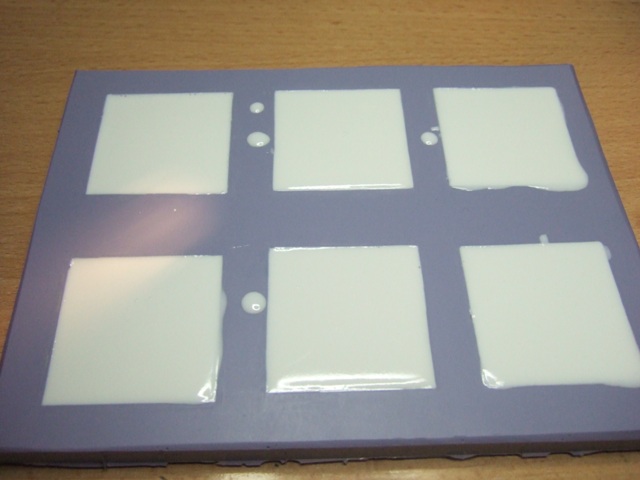 10 min. later and we're all setup and ready to de-mold....I had some over filling, and you can kinda see some rounding....you can fill the mold too full and just like in a glass of water, surface tension will allow the product to be higher in the middle then the edge of the mold....nothing a quick sand won't take care of
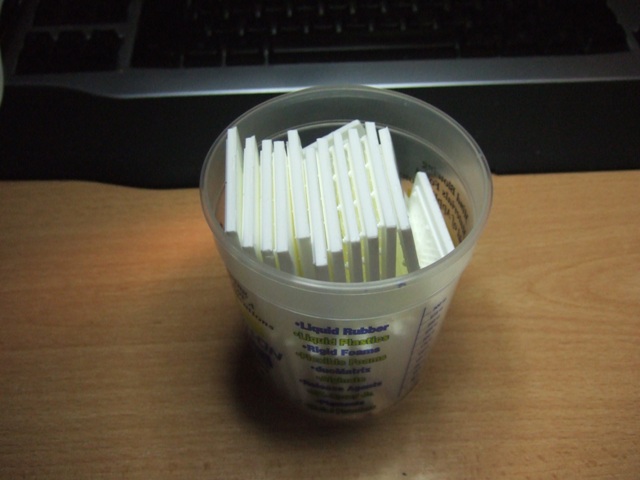 after a few casts, we have a cup 'o' tiles, 28 tiles in this cup, I found with this product, 1-2 mm thick was still too flexible for my liking, so I added styrene to the bottom of my masters, to make everything a min. of 3mm thick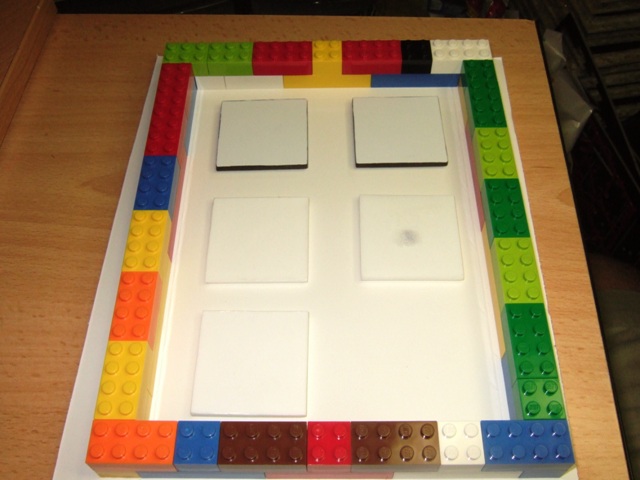
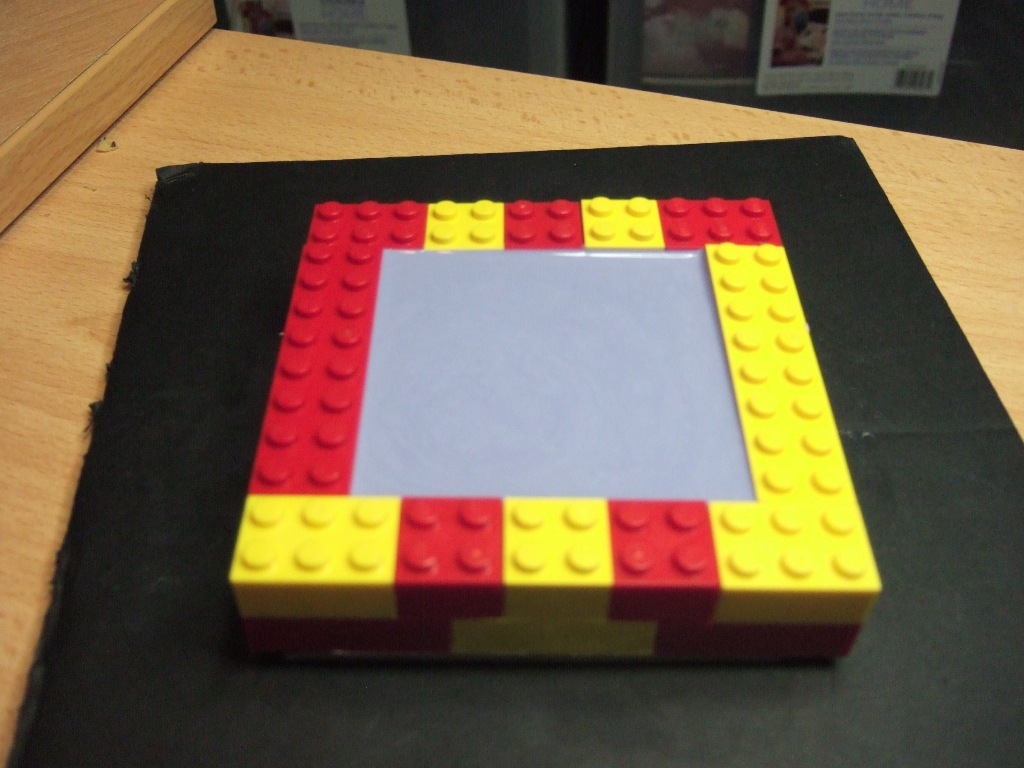
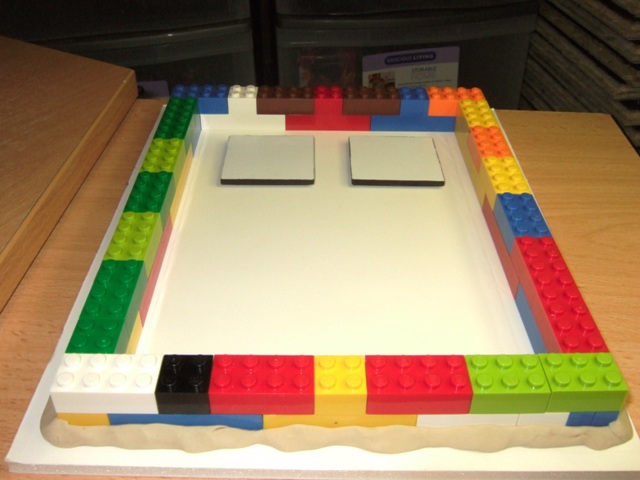 then we need to seal the bottom of the mold...here I used modeling clay (otherwise known as plasticene?) just roll it out, and smush it into the outside edge all the way around.
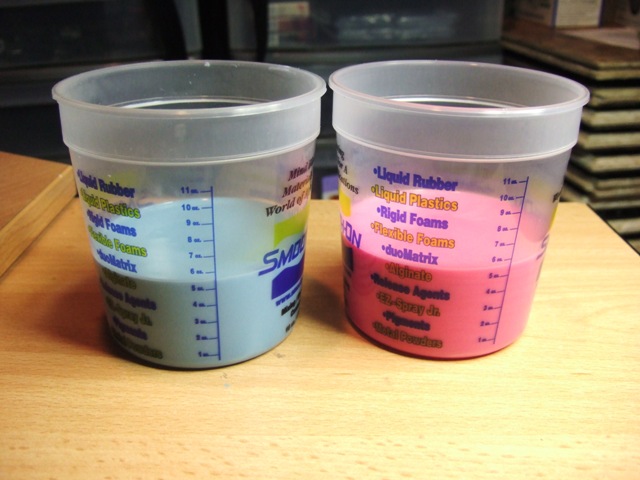 now I missed a photo for a step but it was just hot gluing my 6 tiles down, after making sure my table was level. Then I pour out and mix up the two part silicone....equal parts, when mixed together produces a blueish silicone.
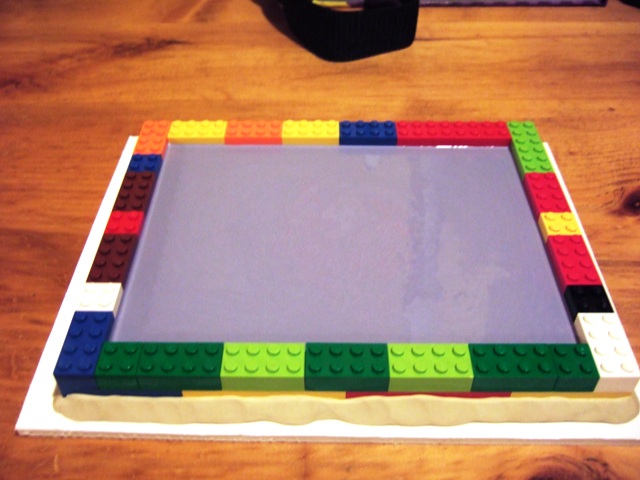 after mixing up the silicone, I poured in to the cavity I'd made, pouring slowly, direct in the middle, and let the silicone find it's own level over and enclosing the parts....now to wait the 6 hours or so, for it to setup solid...
so a few days ago, you saw my first attempts at some resin casting....this is part 2 of my (maybee) 3D space corridors project....I decided to go with a 45mm "tile" so the mini's I play with, look more realistic in scale (and it gives my fat fingers more room once walls are added)
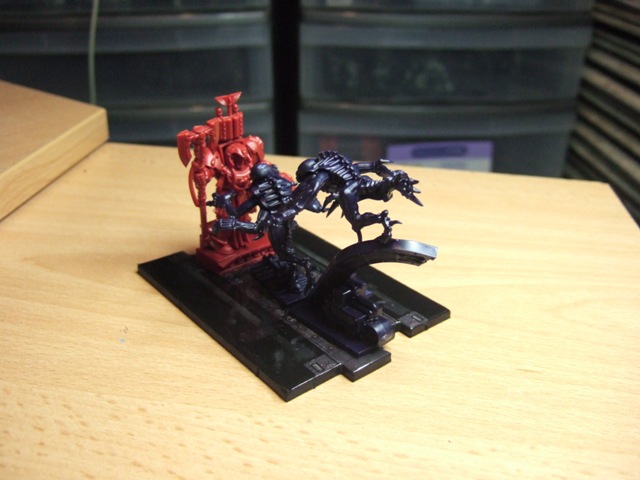
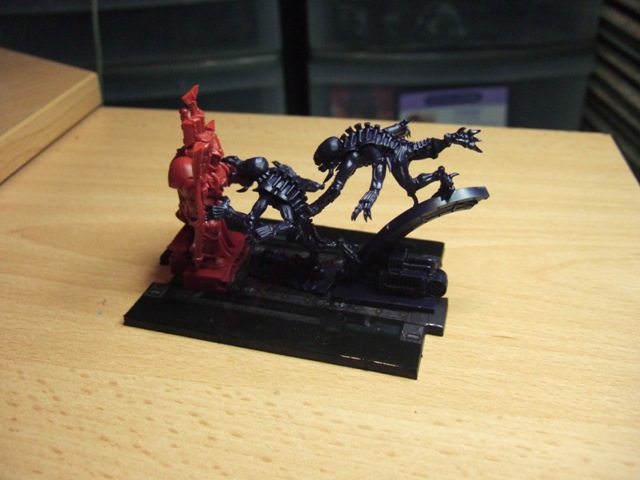
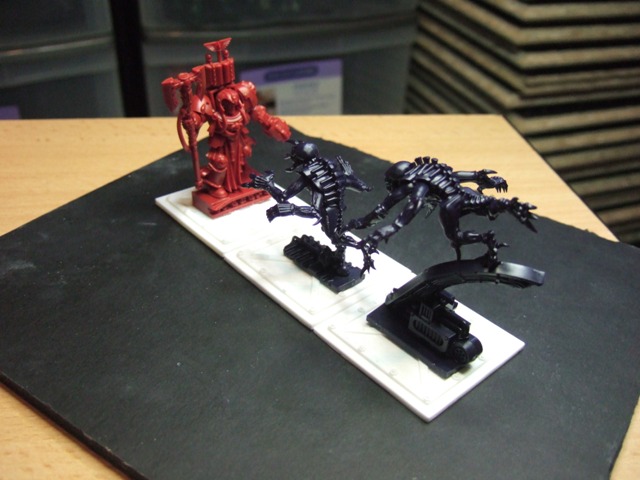
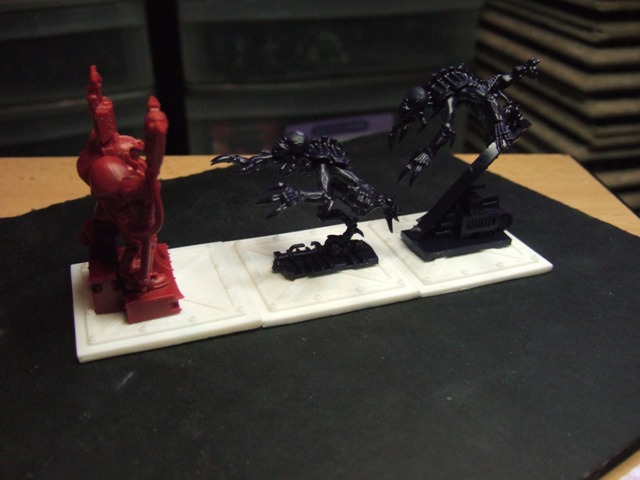
for our very first "Compar-orama" we have the new Space Hulk Mini's on 3 of my cast resin tiles at 45mm, and on a 3 tile section from the actual game.....(based on a 30mm scale)
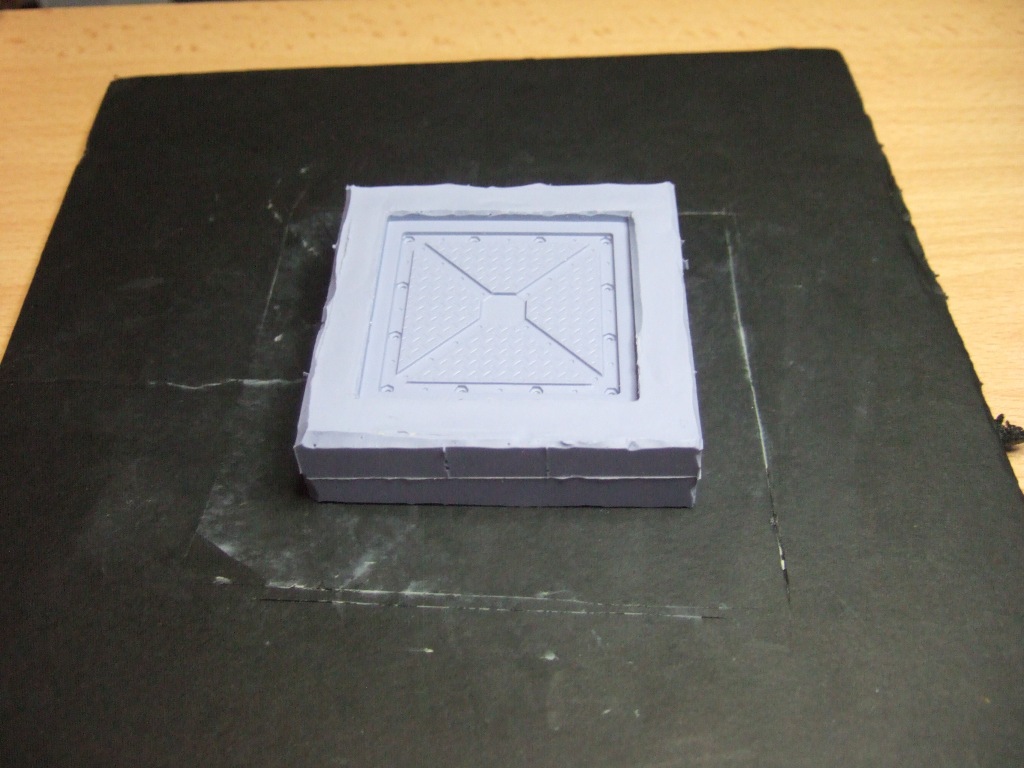 here it is, all setup and de-framed....for a first time, it turned out pretty decent...Pretty happy with how that worked out, though it's a bit thicker then I need it to be....lesson one learnt!