so allot of this you'll have seen before, but figured I'd document it out anyway.
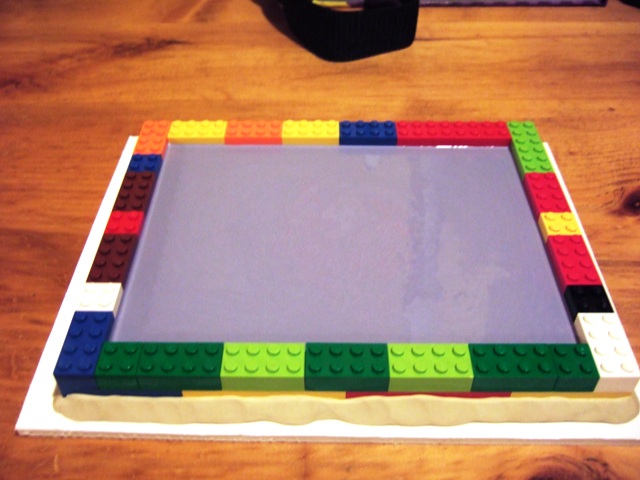
after mixing and pouring the resin, on the molds with complex shapes, I use the rounded end of a paintbrush, to just go over all of the contours of the mold, I find this the easiest way to get rid of any air bubbles that may get trapped and impact the quality of your final cast. I'm finind i'd rather pour a bit too much resin, and have cleanup at the end, then not enough....doing it this way, at least for these few mm thick floor tiles is working best for me.
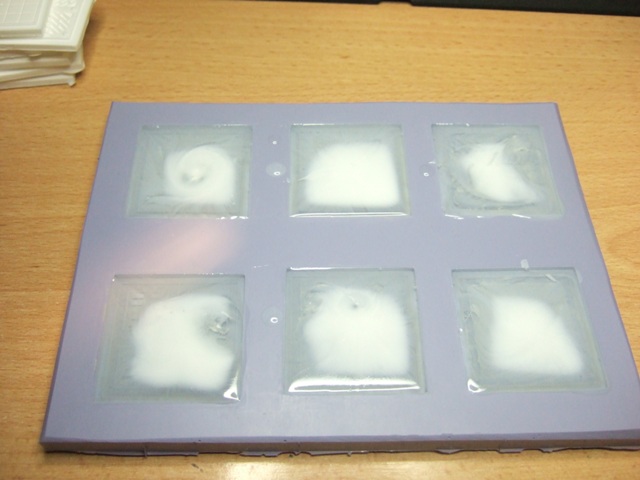
Starting to set
getting closer (I just like watching this happen...it's cool in RL)
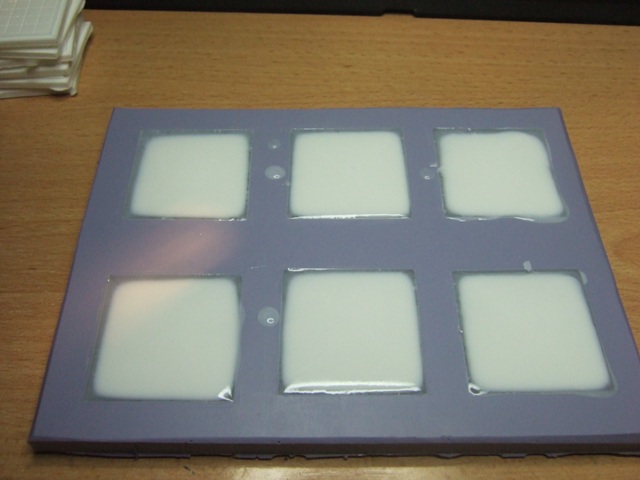
DONE!!! Now to carfully de-mold it...
out of the mold, and looking fine, some minor clean up to do, but all it all, the detail and finish are great!
All cleaned up, and ready to go
primer black....
quick drybrush with gunmetal metal (vallejo version of botlgun metal) once again, my pic taking is haunting me, as it looks way less silvery in RL....but there we have it, a molded/cast tile for the space hulk project, from start to finish...only eleventy thousand more to go!
I may experiment with other paint schemes and or methods of painting....color coordination is not my forte', so I'm open to any suggestion anyone may have.
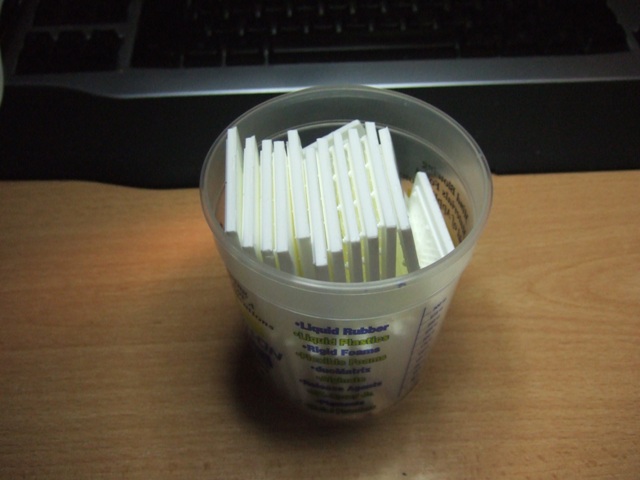
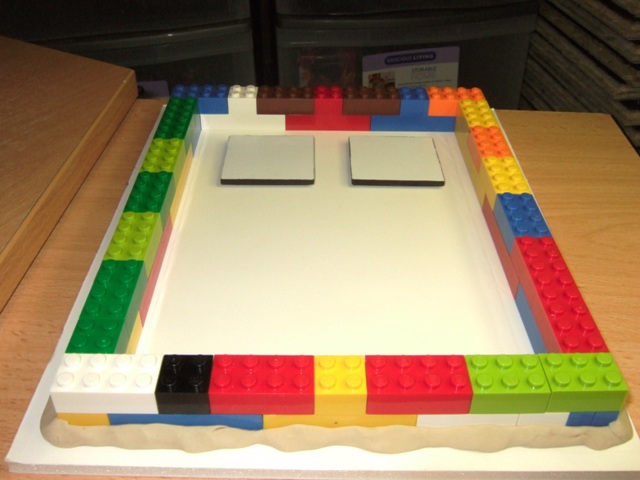
just a quick pictoral, of me casting some floor tiles, from my master mold
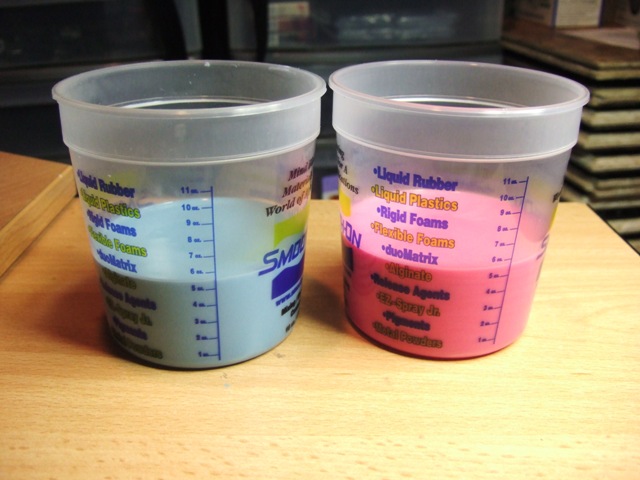
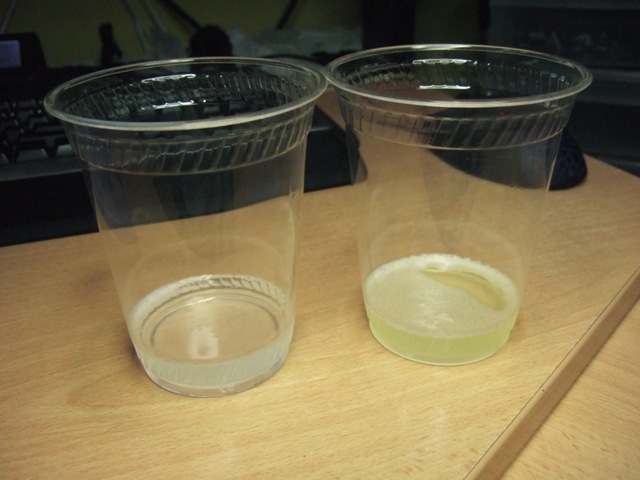 so here's the 2 part resin, mix equally by volume, I just use cheapo plastic cups for this, and a peice of sprue to stir it all....little thicker then water when all mixed, but probably not as thick as table cream...
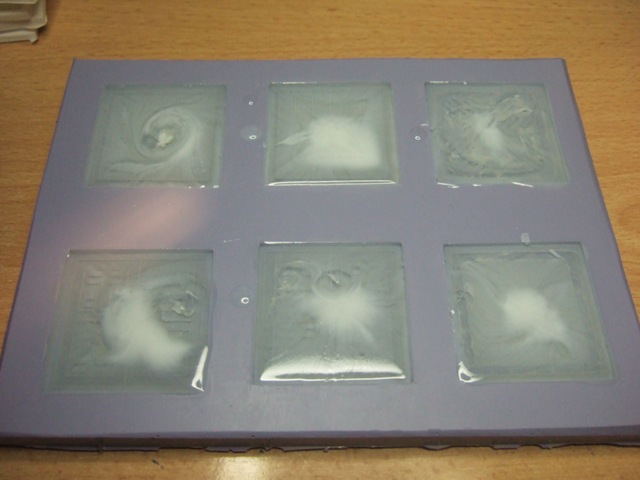 the big kahuna in action.....poured in to the mold, and starting to setup, you can get longer times, but I like not having to wait, 10 min and these are going to be ready to de-mold
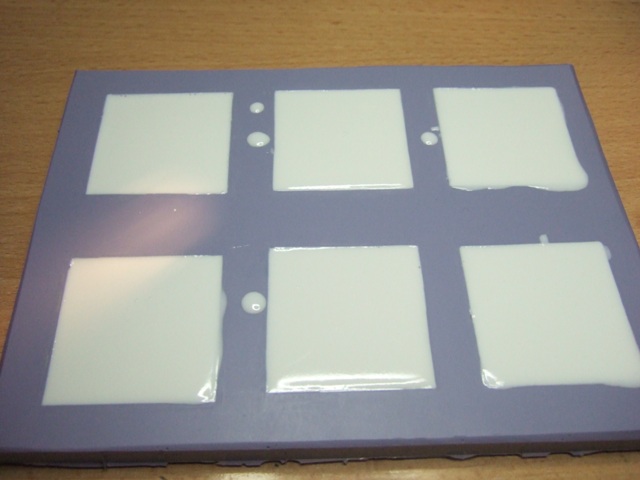 10 min. later and we're all setup and ready to de-mold....I had some over filling, and you can kinda see some rounding....you can fill the mold too full and just like in a glass of water, surface tension will allow the product to be higher in the middle then the edge of the mold....nothing a quick sand won't take care of
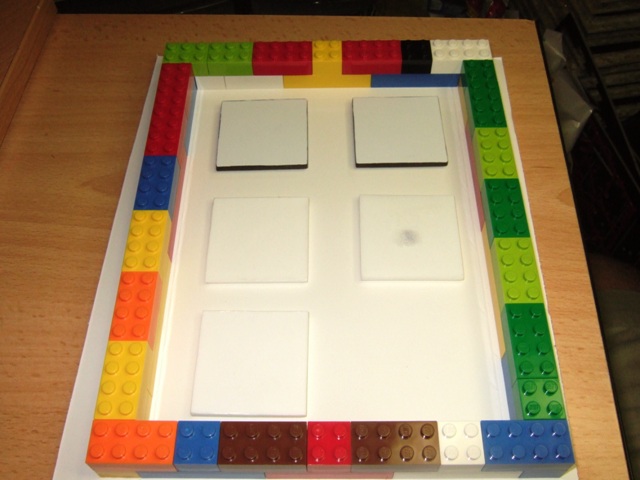
so a few days ago, you saw my first attempts at some resin casting....this is part 2 of my (maybee) 3D space corridors project....I decided to go with a 45mm "tile" so the mini's I play with, look more realistic in scale (and it gives my fat fingers more room once walls are added)
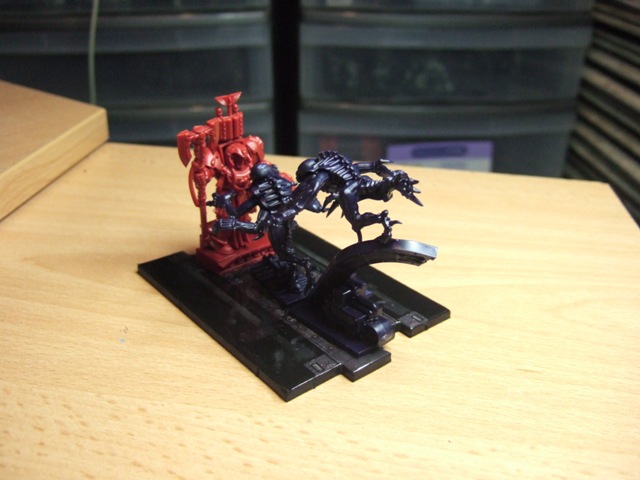
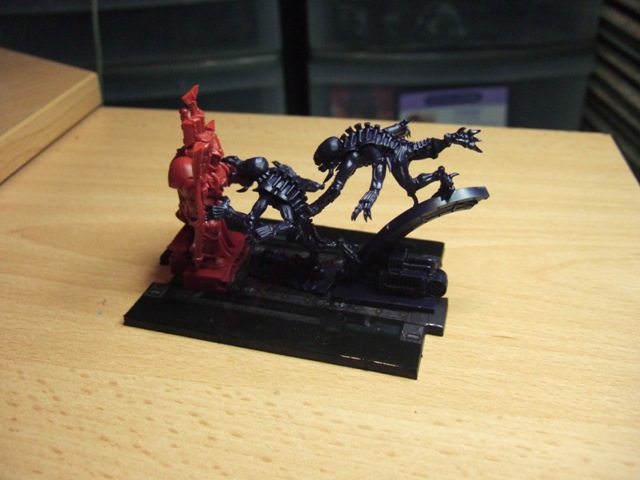
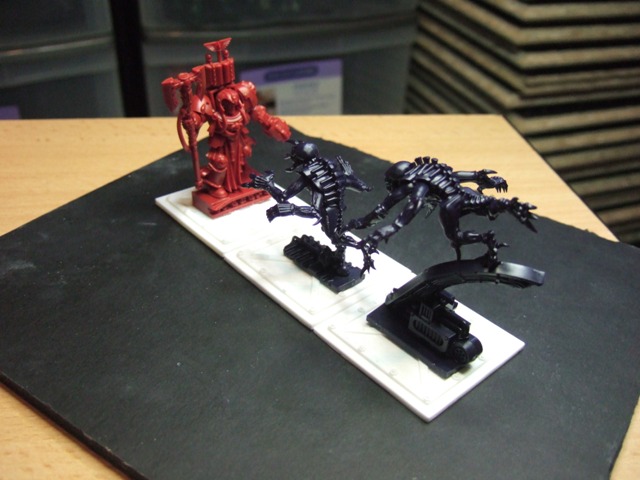
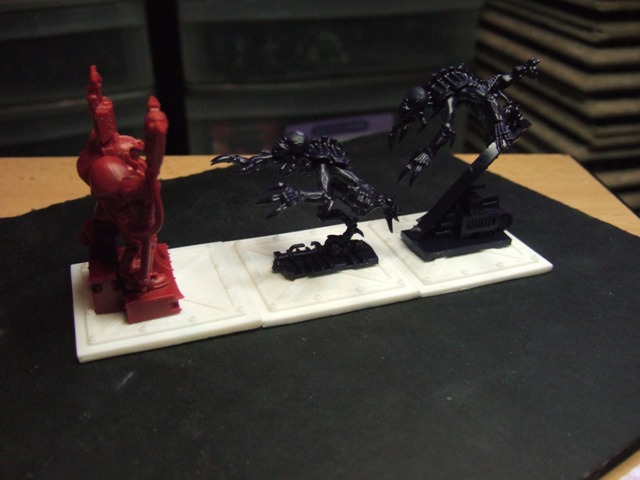
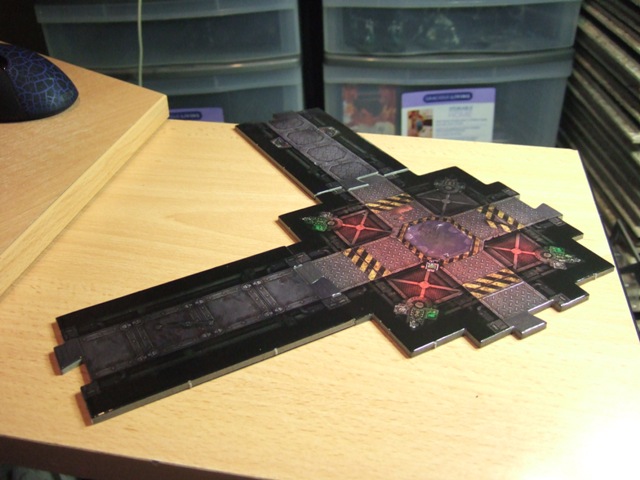
for our very first "Compar-orama" we have the new Space Hulk Mini's on 3 of my cast resin tiles at 45mm, and on a 3 tile section from the actual game.....(based on a 30mm scale)
So...something has been bothering me, re: every pic I see of the new Space Hulk tiles.....they are beautiful tiles, they look fantastic up close, but everysingle picture has a glaring issue IMO.
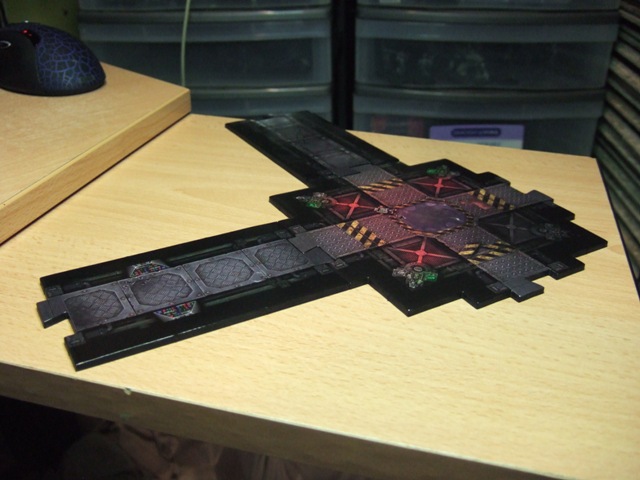 now look here, a few seconds later, and it looks light years better, something any good cardstock modeller knows...simply color the edges with a black marker, and they dissapear to the eye...simple, quick, and 150% worth the effort. It takes your tile from looking like cheap carboard props, to something you appreciate, because you'll never think about it agian...Try it on your own set!