so allot of this you'll have seen before, but figured I'd document it out anyway.
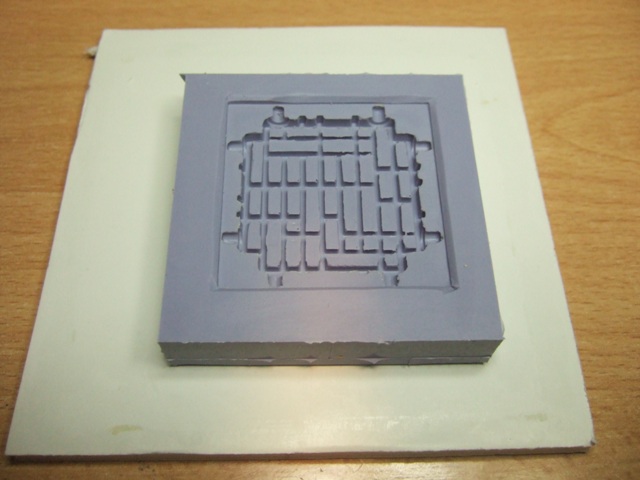
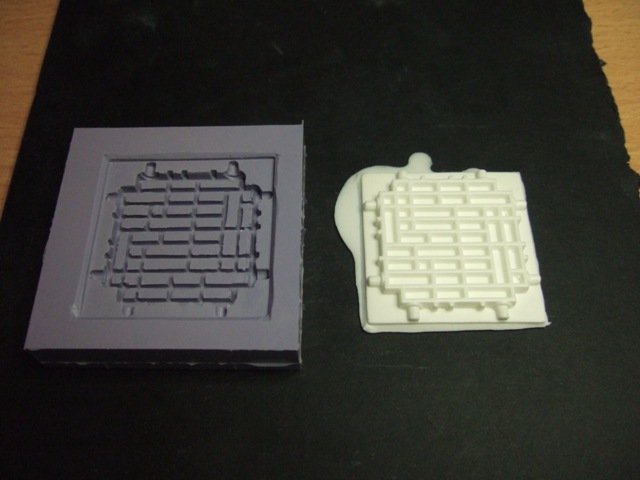
starting with the mold, it doesn't look that neat and tidy, and it's one of the more complex ones I've made so far...and I think the finished cast is quite nice for a "grate-ey" floor tile. I've started using a mold release caoting after each cast, and I find that even complex peices like this, pop uout super easy....well worth the $4.95 IMO
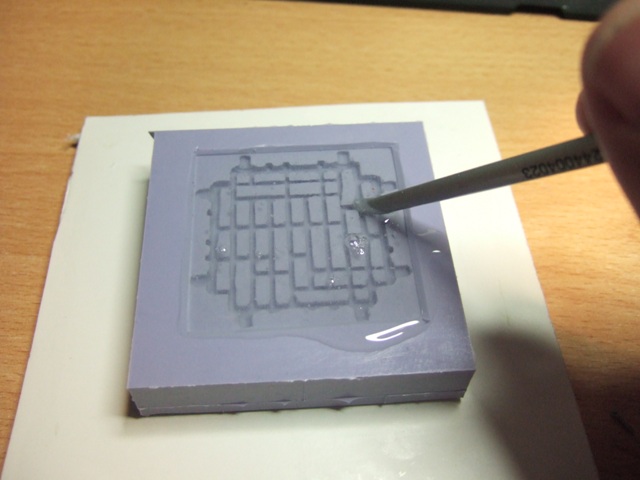
after mixing and pouring the resin, on the molds with complex shapes, I use the rounded end of a paintbrush, to just go over all of the contours of the mold, I find this the easiest way to get rid of any air bubbles that may get trapped and impact the quality of your final cast. I'm finind i'd rather pour a bit too much resin, and have cleanup at the end, then not enough....doing it this way, at least for these few mm thick floor tiles is working best for me.
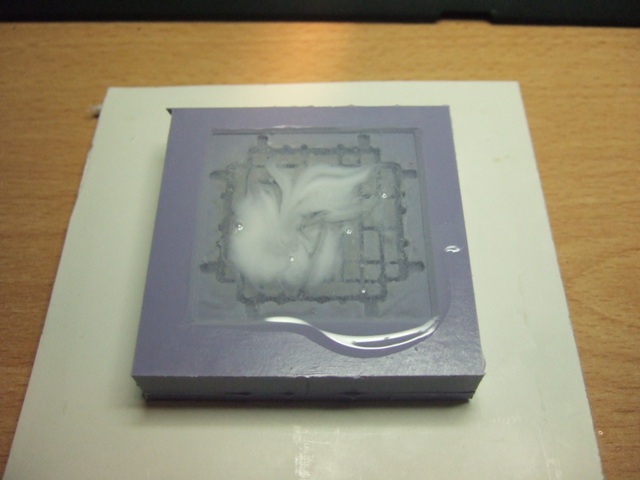
Starting to set
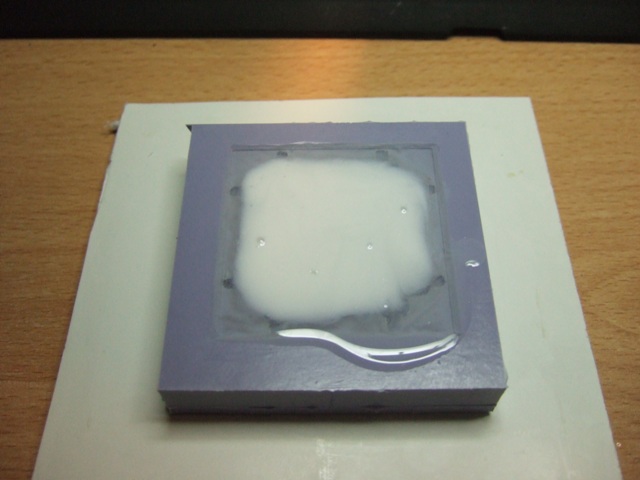
getting closer (I just like watching this happen...it's cool in RL)
DONE!!! Now to carfully de-mold it...
out of the mold, and looking fine, some minor clean up to do, but all it all, the detail and finish are great!
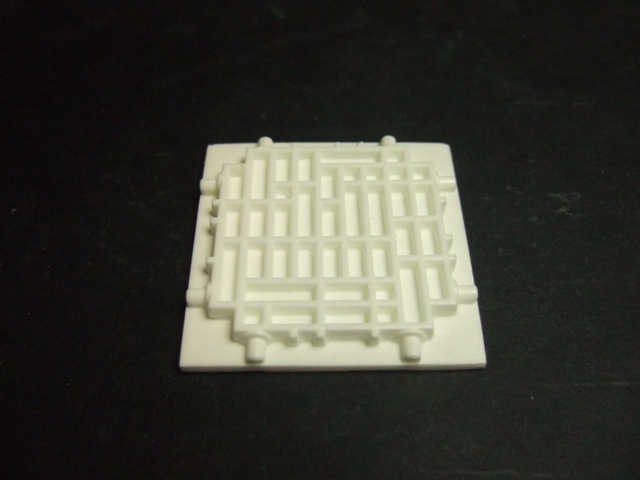
All cleaned up, and ready to go
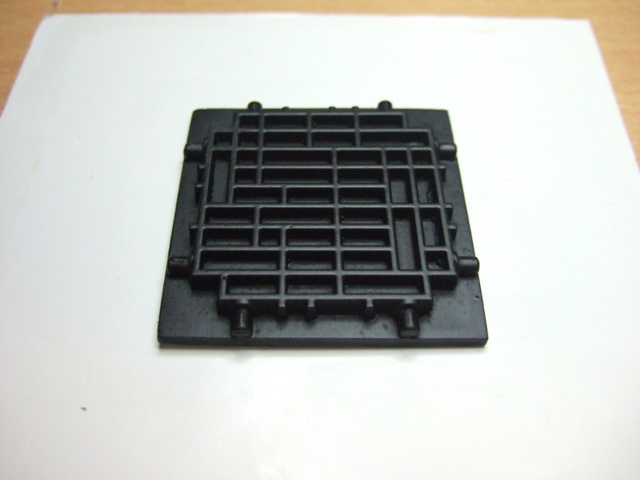
primer black....
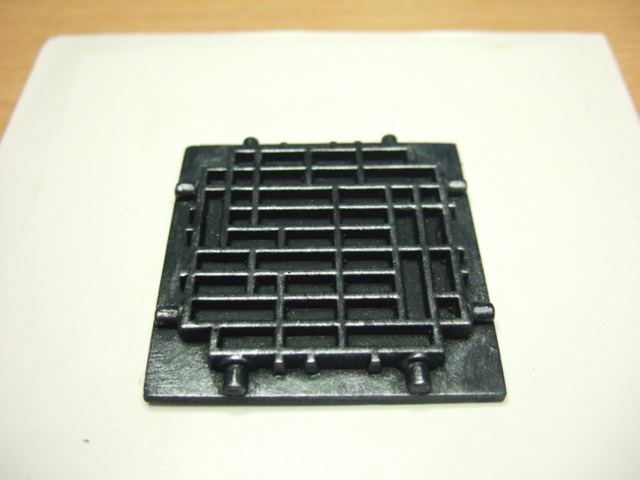
quick drybrush with gunmetal metal (vallejo version of botlgun metal) once again, my pic taking is haunting me, as it looks way less silvery in RL....but there we have it, a molded/cast tile for the space hulk project, from start to finish...only eleventy thousand more to go!
I may experiment with other paint schemes and or methods of painting....color coordination is not my forte', so I'm open to any suggestion anyone may have.


0 comments:
Post a Comment