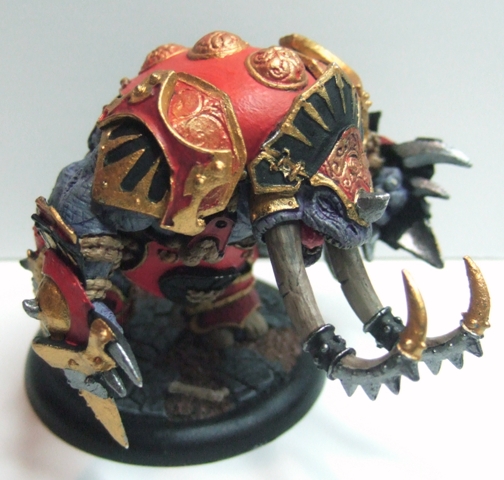
I know I know....this is the finished beastie, that was in the prior pics as a WIP
but don't worry, those pics are still come....Been getting greif for not updating enough, so i figured I'd throw up the finished product....again, my photog skills are majorly lacking.
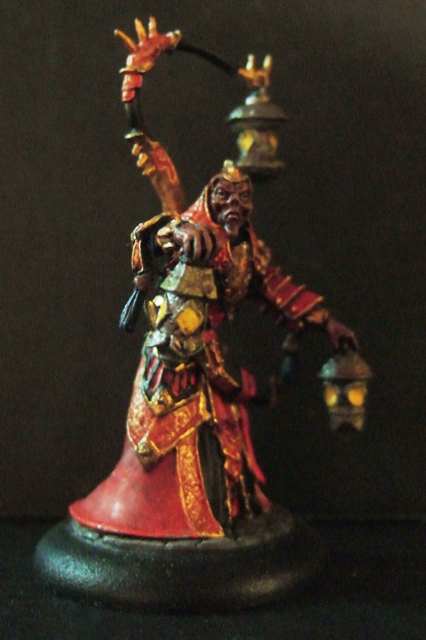
for the War-ma-Hordes Challenge II, I present my Gladiator Titan
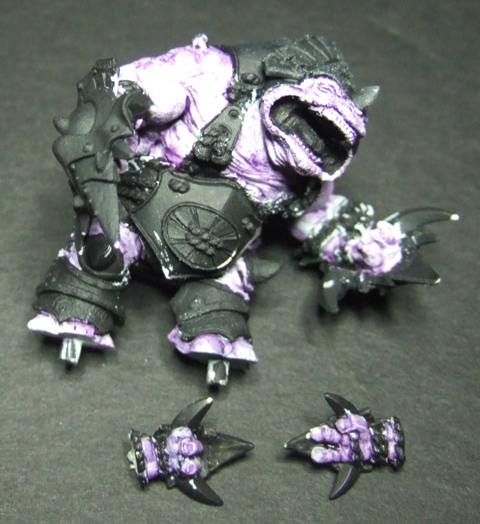
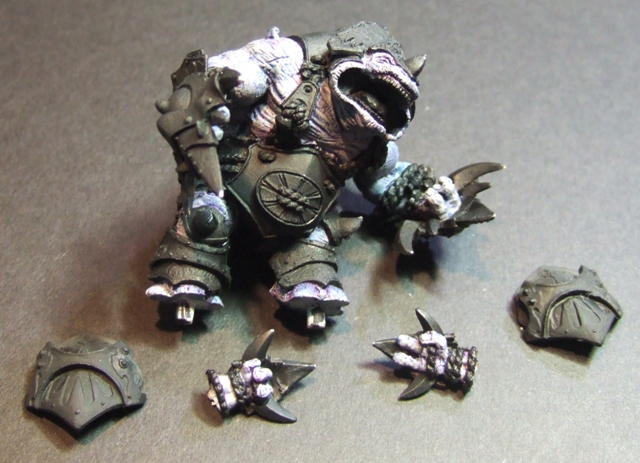
so...figured I'd document, the process I go through, to piant each mini I work on...it's long and full of bad pics, and will even be in multiple parts....too bad for you :p in this step by step we have a Skorne Titan Gladiator
so, I missed the first step (primer black) as I only thought of this as I was doing the skin basecoat....so ya, first step (not pictured) is primer the model black.
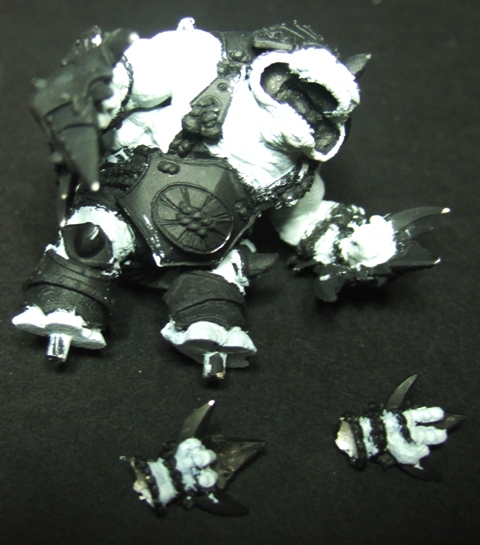 Step 2: basecoat the skin, light grey (in this case astronomican grey). I don't worry too much about "staying in the lines" as I found it's very time consuming, and it's much easier and quciker to fix any mistakes later on (as you will see)
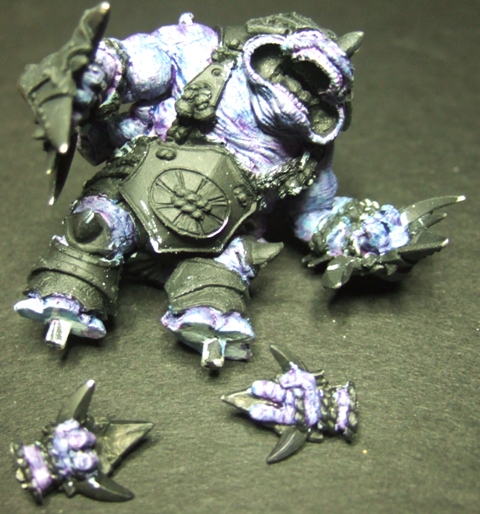
Step 4: as hinted at above, after the purple, comes the blue wash....lightly!! I want just a hint'o'blue on this fellow.
a pic of step five and six together...
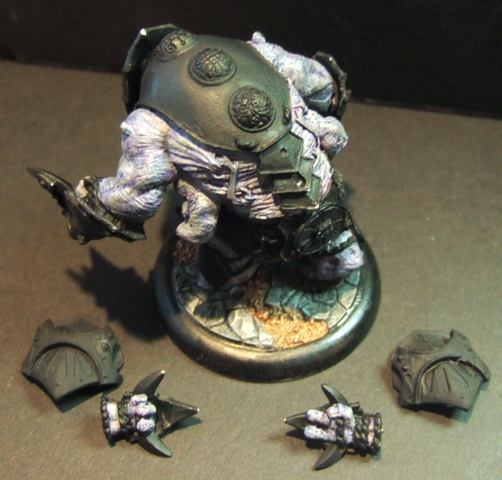
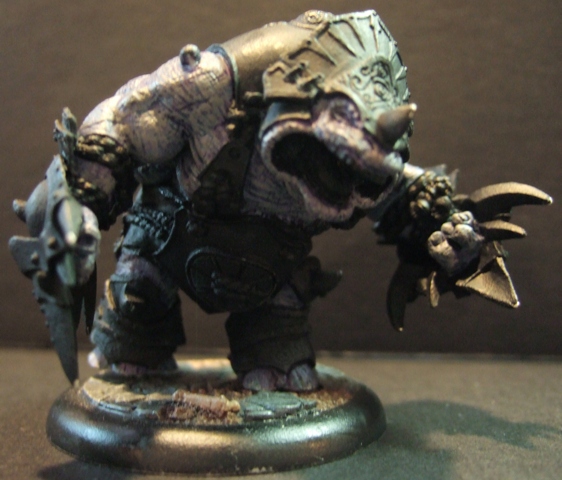 Just wanted to see, what he was gonna look like on his base (which I'd done up prior)
Skin is done...barring the bad pics, it looks just the way I had envisioned, and you'll see once I get the armor, weapons, and hightlights added, it won't look so bright purple.
this is one of those cases, where I'm 100% this looks better in RL then in my pics...I tried everything, inside, outside, light, no light, close, far, everything...this was the best I could do in the pic taking dept.
so allot of this you'll have seen before, but figured I'd document it out anyway.
after mixing and pouring the resin, on the molds with complex shapes, I use the rounded end of a paintbrush, to just go over all of the contours of the mold, I find this the easiest way to get rid of any air bubbles that may get trapped and impact the quality of your final cast. I'm finind i'd rather pour a bit too much resin, and have cleanup at the end, then not enough....doing it this way, at least for these few mm thick floor tiles is working best for me.
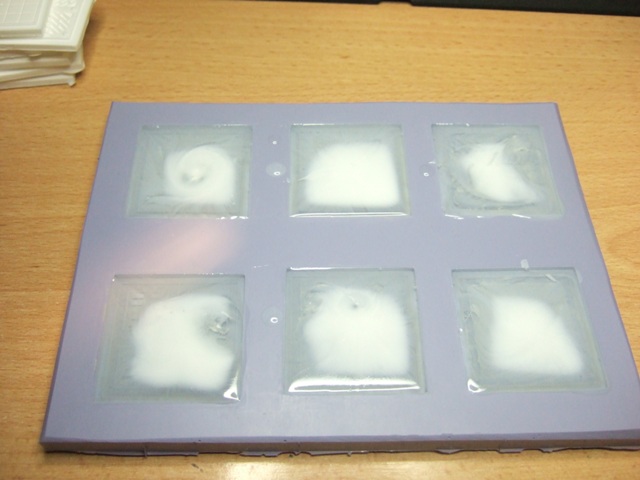
Starting to set
getting closer (I just like watching this happen...it's cool in RL)
DONE!!! Now to carfully de-mold it...
out of the mold, and looking fine, some minor clean up to do, but all it all, the detail and finish are great!
All cleaned up, and ready to go
primer black....
quick drybrush with gunmetal metal (vallejo version of botlgun metal) once again, my pic taking is haunting me, as it looks way less silvery in RL....but there we have it, a molded/cast tile for the space hulk project, from start to finish...only eleventy thousand more to go!
I may experiment with other paint schemes and or methods of painting....color coordination is not my forte', so I'm open to any suggestion anyone may have.
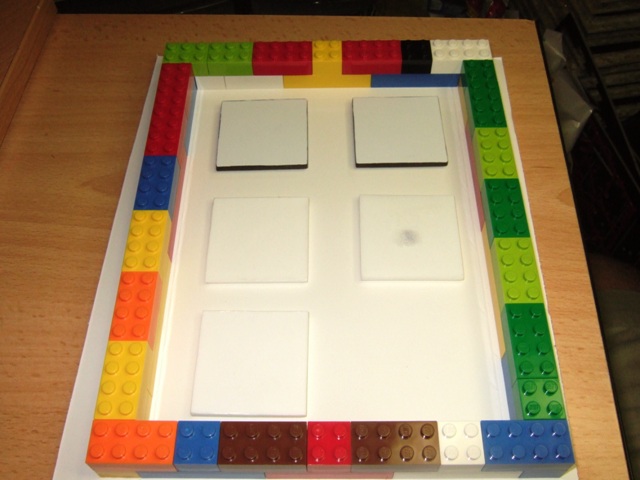
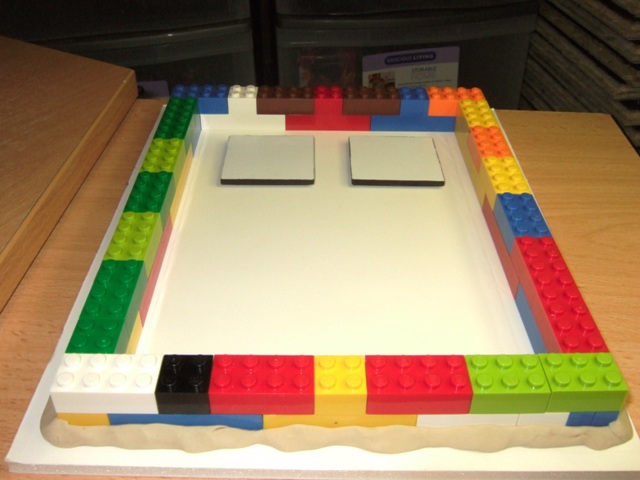
just a quick pictoral, of me casting some floor tiles, from my master mold
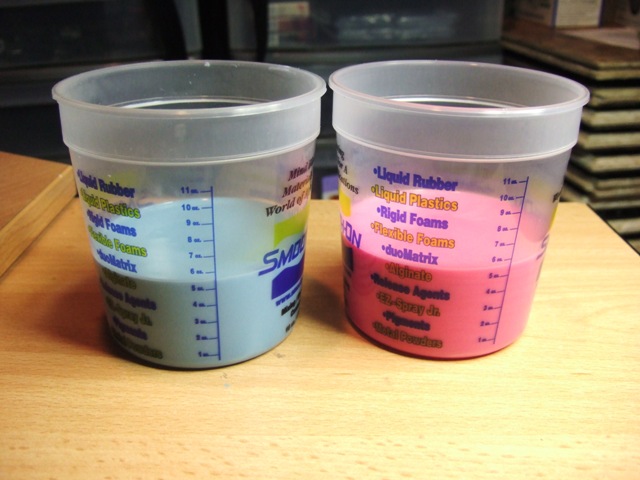
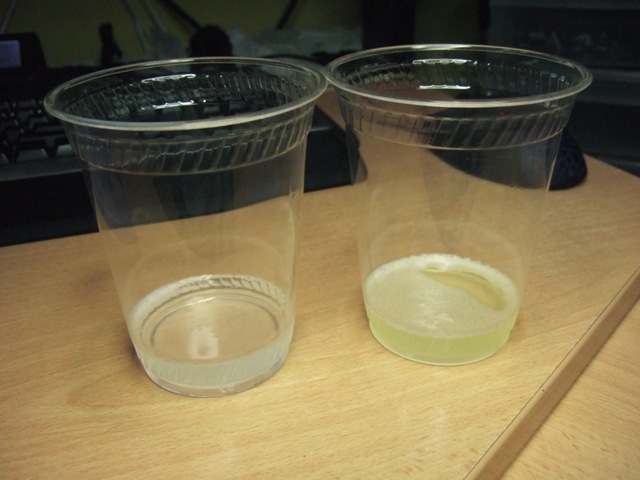 so here's the 2 part resin, mix equally by volume, I just use cheapo plastic cups for this, and a peice of sprue to stir it all....little thicker then water when all mixed, but probably not as thick as table cream...
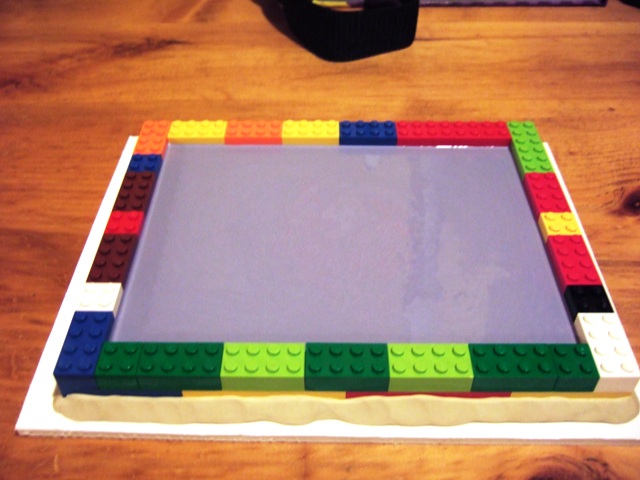
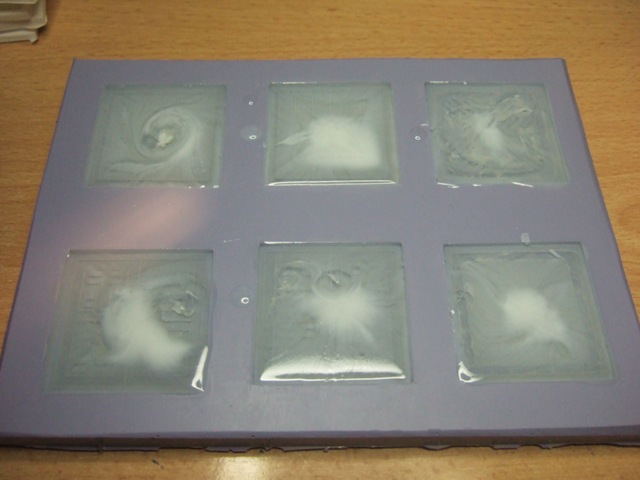 the big kahuna in action.....poured in to the mold, and starting to setup, you can get longer times, but I like not having to wait, 10 min and these are going to be ready to de-mold
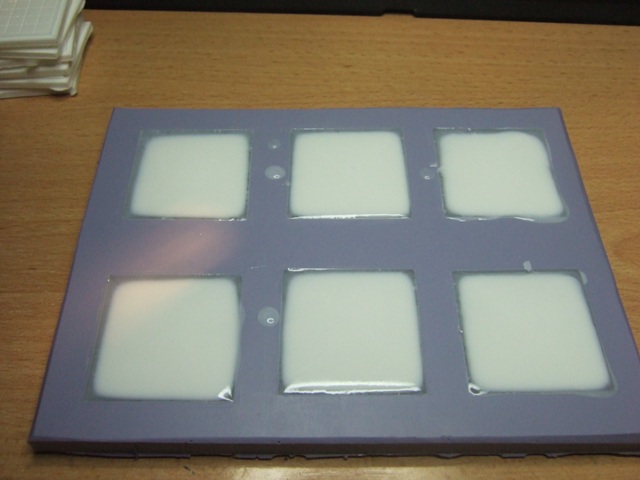
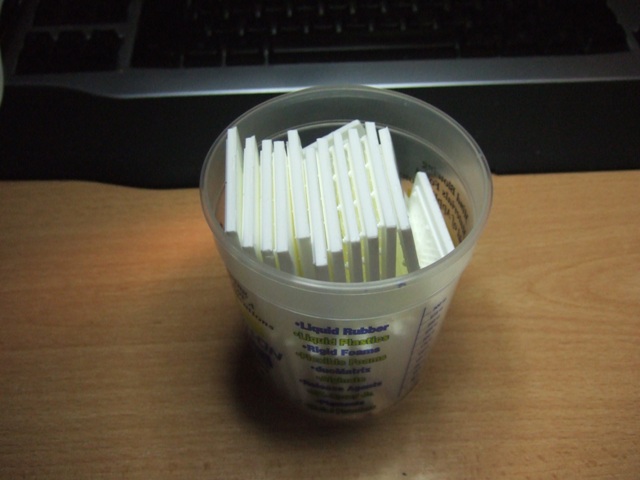
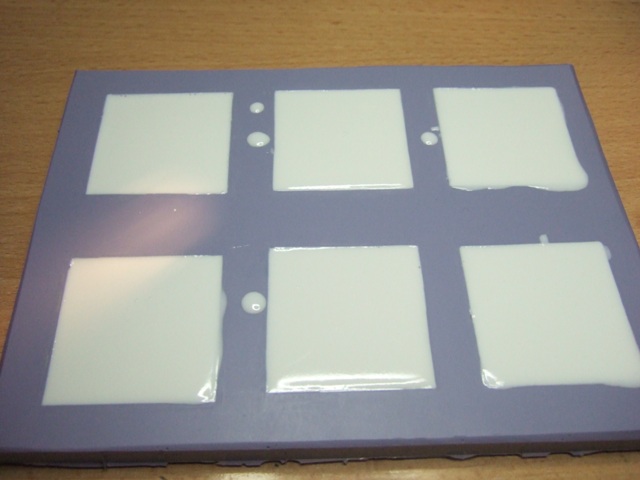 10 min. later and we're all setup and ready to de-mold....I had some over filling, and you can kinda see some rounding....you can fill the mold too full and just like in a glass of water, surface tension will allow the product to be higher in the middle then the edge of the mold....nothing a quick sand won't take care of
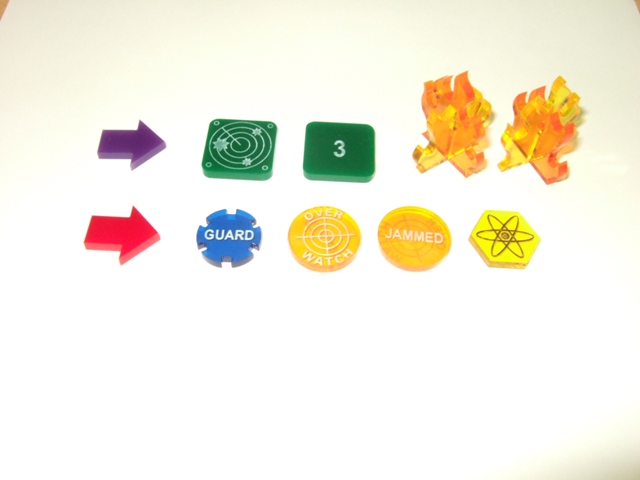
some of my custom counters and tokens came in today, I'm very pleased with how they turned out
Green Blip's are double sided
Flames
Red Arrow = Space Marine area
Guard Token
Overwatch on one side, JAMMED on the other
Power Field Generator
*please note, these look lots better in real life, my pic taking doesn't do them justice*
Still to come, Command point Counter, ladder up/down, Force Barrier, Amunition, and PSI Points
so a few days ago, you saw my first attempts at some resin casting....this is part 2 of my (maybee) 3D space corridors project....I decided to go with a 45mm "tile" so the mini's I play with, look more realistic in scale (and it gives my fat fingers more room once walls are added)
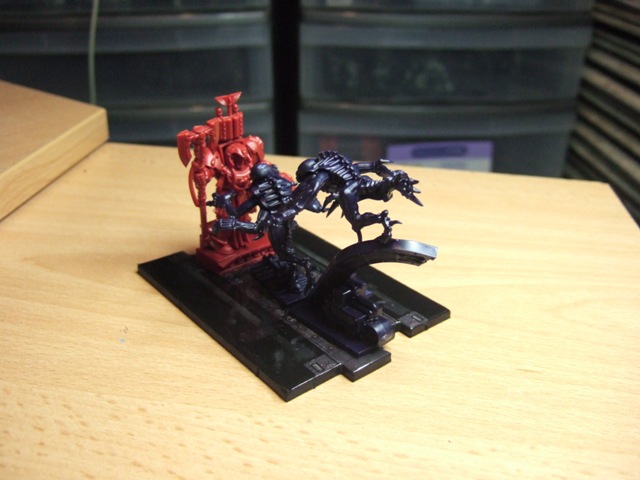
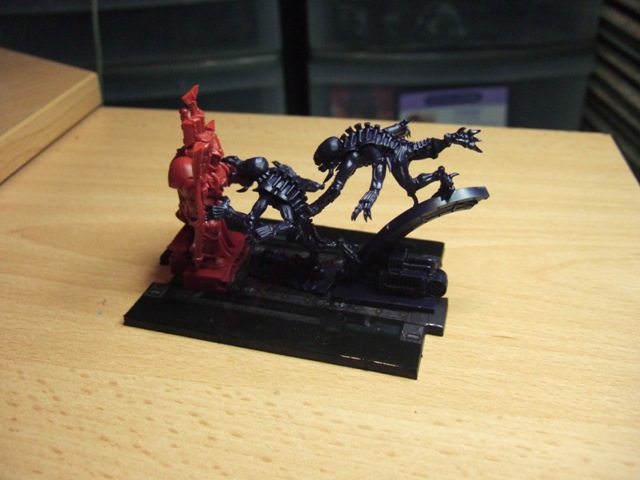
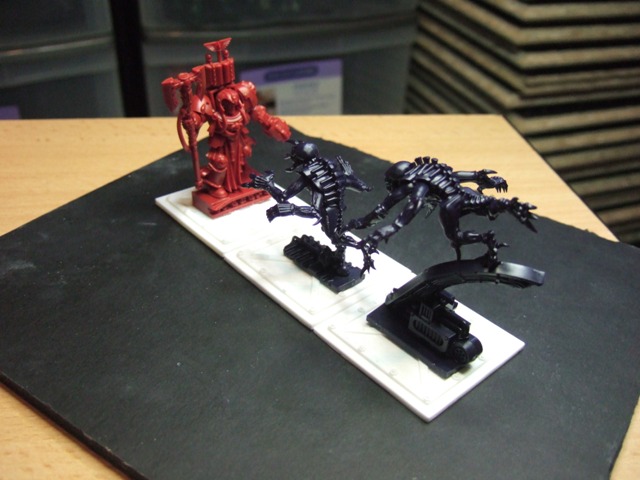
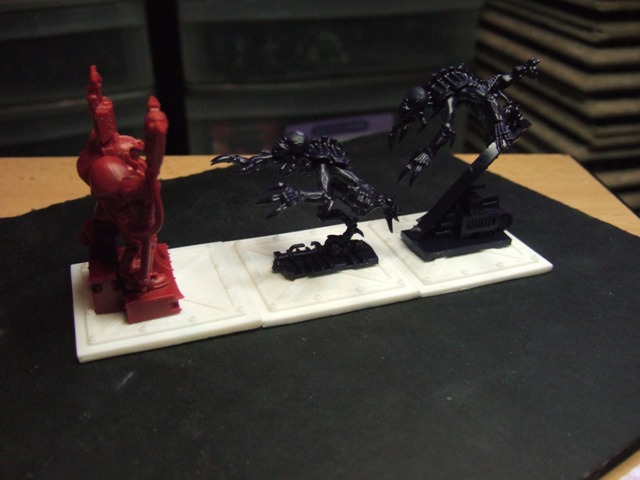
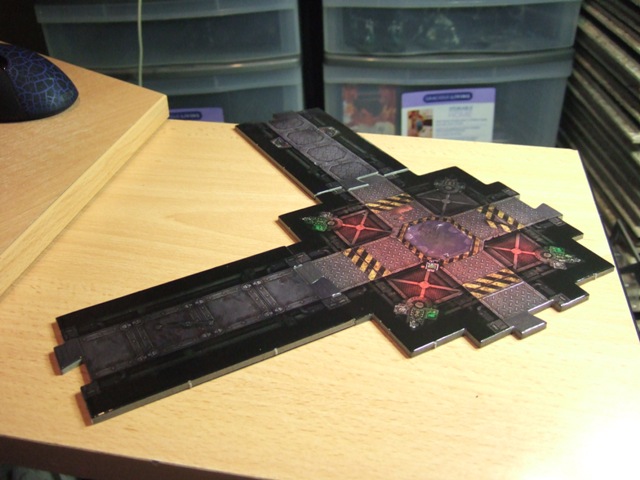
for our very first "Compar-orama" we have the new Space Hulk Mini's on 3 of my cast resin tiles at 45mm, and on a 3 tile section from the actual game.....(based on a 30mm scale)
Beasts of War have created a small application to help add some atmosphere to your games of Space Hulk; the Deep Space Assault Console.
"Beasts of War is proud to present the Deep Space Assault Console. It’s a free to download sound generator that we have created to celebrate the 25th anniversary of Space Hulk.
We hope it will enhance your enjoyment of the game, setting the mood perfectly with its creepy background track and the outstanding event effects not to mention just how cool looking it is."
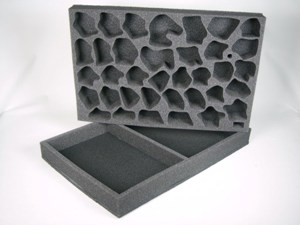 Battle Foam has just released thier custom solution for the Space Hulk game (more can be seen in the vid a few posts down) this stuff is custom cut, to to protect & fit exactly, every mini in the game, and all the other stuff, and it still fits in the box!! Instead of just loose peices rattling around inside the box, protect your game and mini's from breakage, wear & tear and paint damage, put your mini's in Battle Foam!
So...something has been bothering me, re: every pic I see of the new Space Hulk tiles.....they are beautiful tiles, they look fantastic up close, but everysingle picture has a glaring issue IMO.
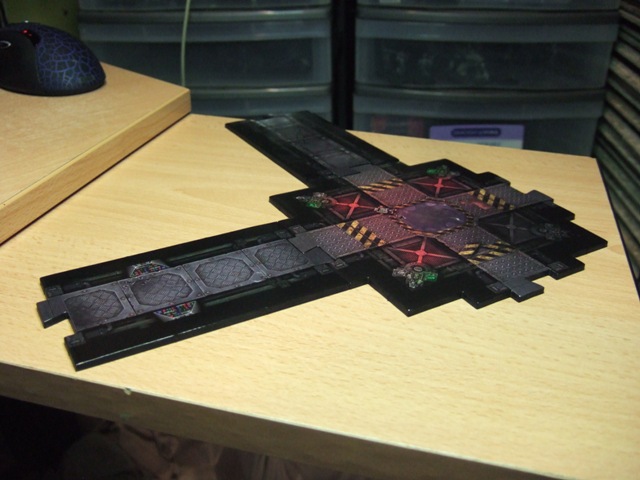 now look here, a few seconds later, and it looks light years better, something any good cardstock modeller knows...simply color the edges with a black marker, and they dissapear to the eye...simple, quick, and 150% worth the effort. It takes your tile from looking like cheap carboard props, to something you appreciate, because you'll never think about it agian...Try it on your own set!
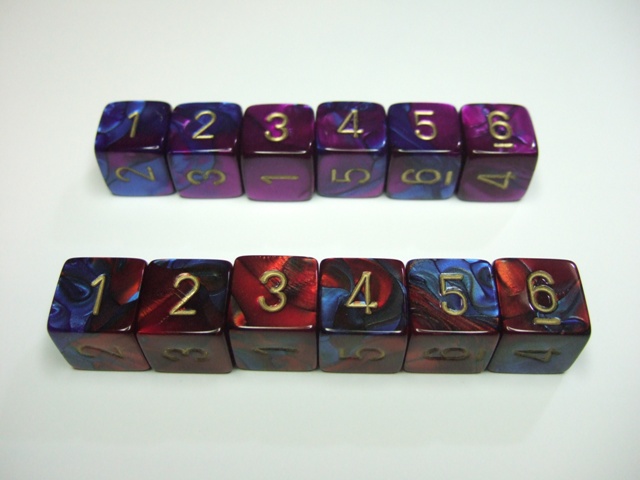
More Space Hulk goodness showed up at the door this afternoon...my custom numbered (not pips) dice. I find my old eyes just don't count pips as quickly as they used to, this makes it easy! The purple-ish for the Aliens, the red-ish for the Space Marines....Much better then the beige and brown marble look, pip dice that came with the game...and this way each player gets thier own dice (it's a personal thing, I don't like sharing dice) *grin*
