so...figured I'd document, the process I go through, to piant each mini I work on...it's long and full of bad pics, and will even be in multiple parts....too bad for you :p in this step by step we have a Skorne Titan Gladiator
so, I missed the first step (primer black) as I only thought of this as I was doing the skin basecoat....so ya, first step (not pictured) is primer the model black.
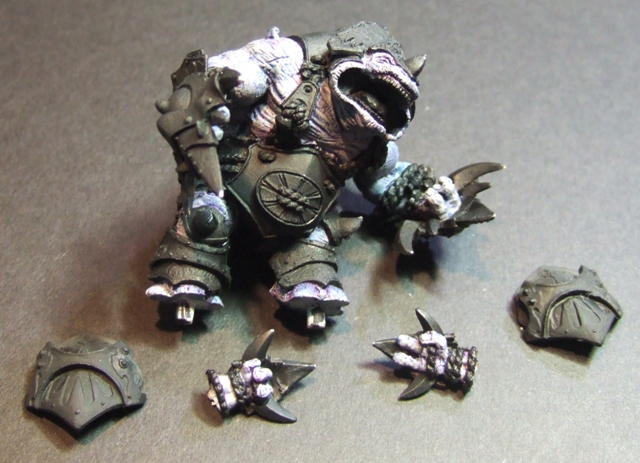
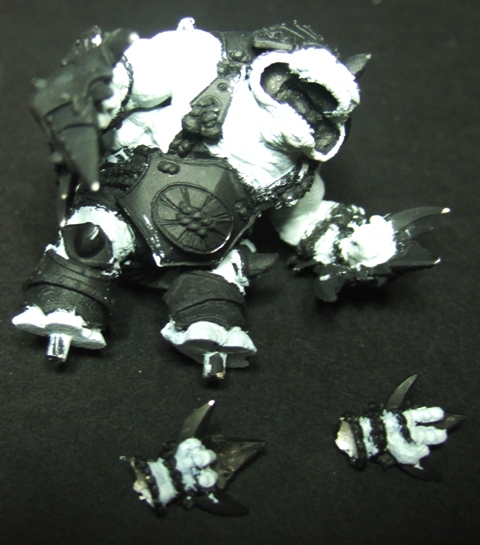 Step 2: basecoat the skin, light grey (in this case astronomican grey). I don't worry too much about "staying in the lines" as I found it's very time consuming, and it's much easier and quciker to fix any mistakes later on (as you will see)
Step 3: a light purple wash, in the end I want this beastie to look like he's battered and bruised, purple and blue seemed like decent colors to do this.
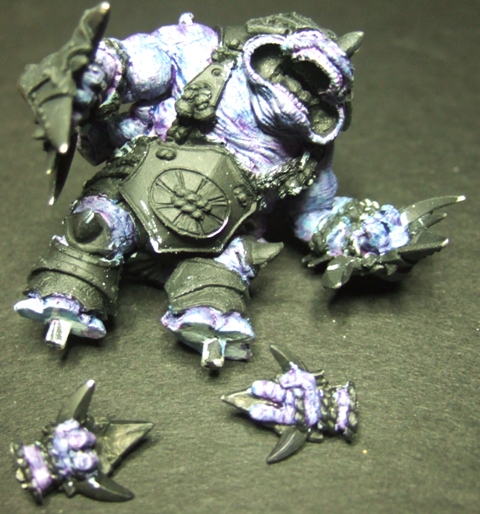
Step 4: as hinted at above, after the purple, comes the blue wash....lightly!! I want just a hint'o'blue on this fellow.
a pic of step five and six together...
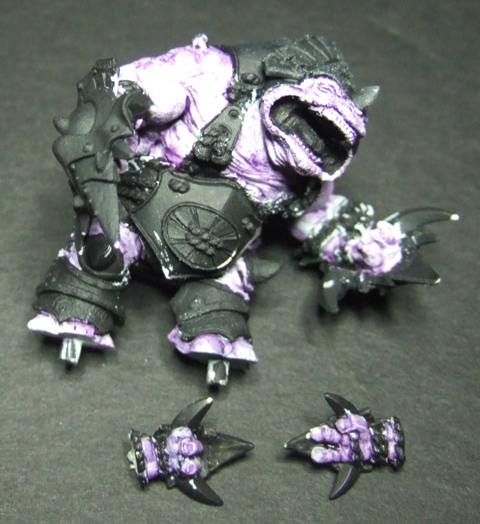
Step 5: a decent drybrush with a darker grey (vallejo cold grey in this case) just to bring back the skin tone, and cover a good portion of the blue and purple.
Step 6: as I said at the begining, this is one of the times I choose to go and fix any mistakes or "out of the lines" painting....it's simple, just go over the mistakes with black to clean it all up.
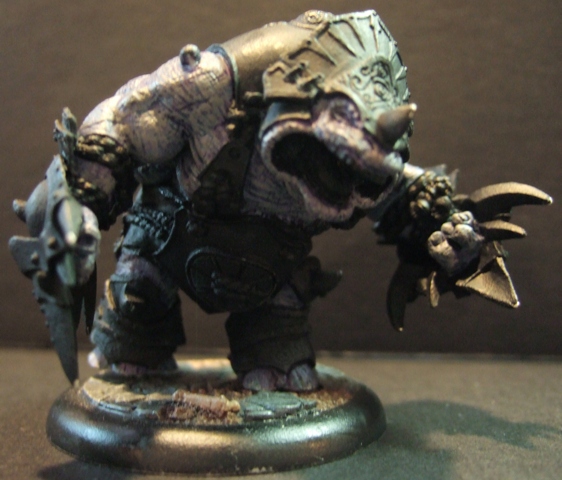
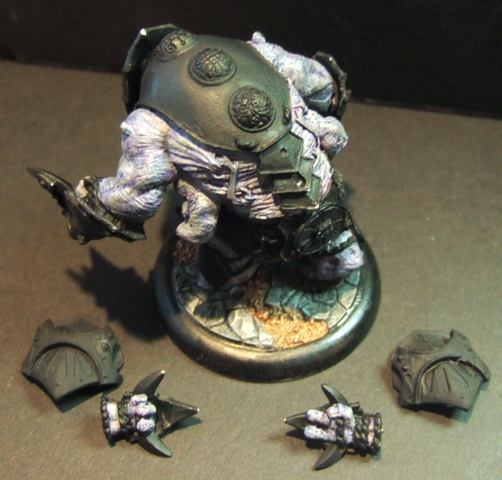
Just wanted to see, what he was gonna look like on his base (which I'd done up prior)
Skin is done...barring the bad pics, it looks just the way I had envisioned, and you'll see once I get the armor, weapons, and hightlights added, it won't look so bright purple.

0 comments:
Post a Comment